Page 17
Write the software
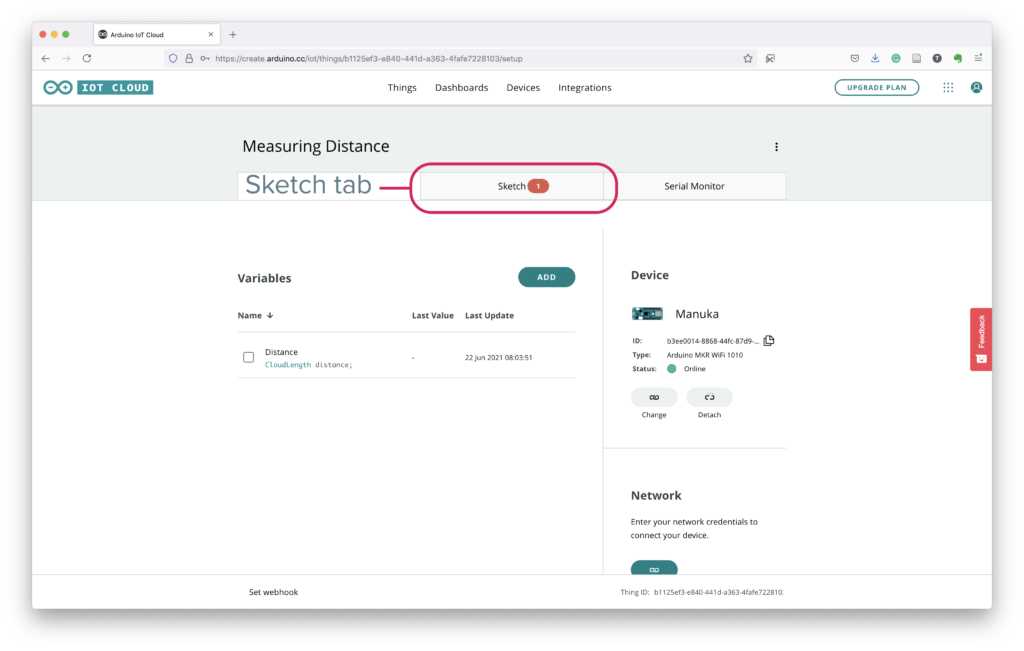
Open the Sketch tab to finish creating the software that will be uploaded to the Arduino board. There are two steps that you need to follow, one to include the sensor library, another to write the code that will run constantly passing sensor readings to a variable.
Including the library
At the top of the sketch, identify the following line:
#include "thingProperties.h"
Below that line, you have to add the following three lines, to include the library:
// Grove Ultrasonic Ranger - Version: 1.0.1
#include <Ultrasonic.h> // load the library
Ultrasonic ultrasonic(0); // use the port D0
Connecting sensor readings to a variable
Then, in the loop section identify the following line:
// Your code here
Below that line, add the following lines of code:
// this line captures the sensor reading and store it in the distance variable
distance = ultrasonic.MeasureInCentimeters();

// this line prints the captured value
Serial.println("Distance: " + String(distance) + " cm ");

// this lines stops the loop for 1000 milliseconds (1 second)
delay(1000);
Verify and upload the software
At the top of the screen, you will find two icons: one for Verify and another for Upload.
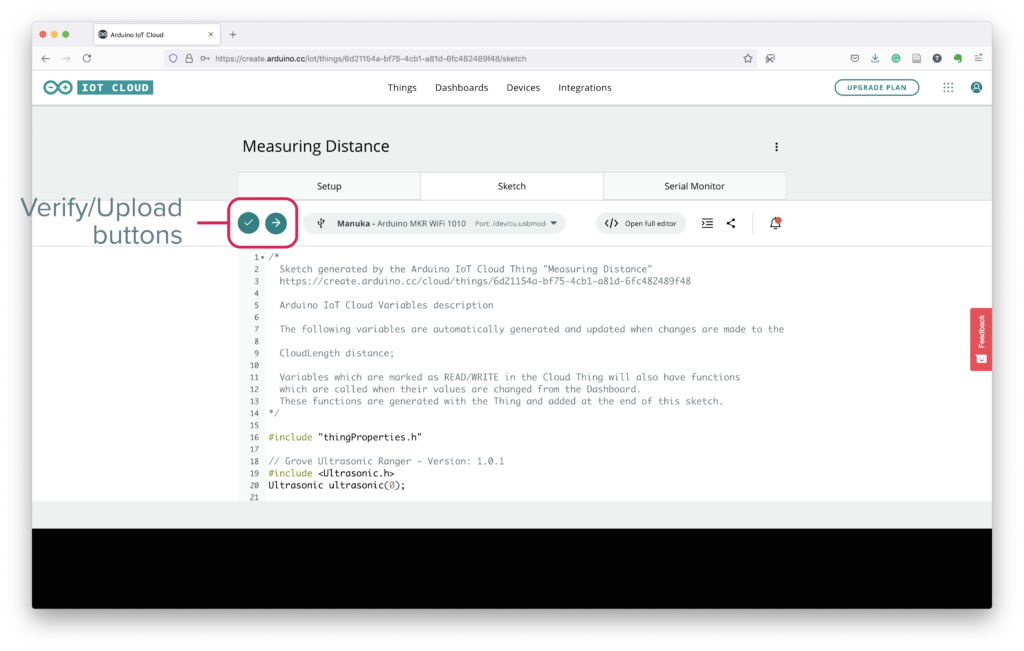
- Click the Verify icon to see that the code does not have errors. You should see a “Done: Verifying…” message in a green bar below the code (if there is a problem, the bar will be red).
- Once the code is verified, click the Upload icon to upload it to the Arduino board. You should see a “Success: Done Uploading…” message in a green bar below the code (if there is a problem, the bar will be red).
Once the software is uploaded to the Arduino board, you will start seeing readings from the sensor in the Serial Monitor tab.
Continue to Page 18 – Serial Monitor.