Checkbox 5
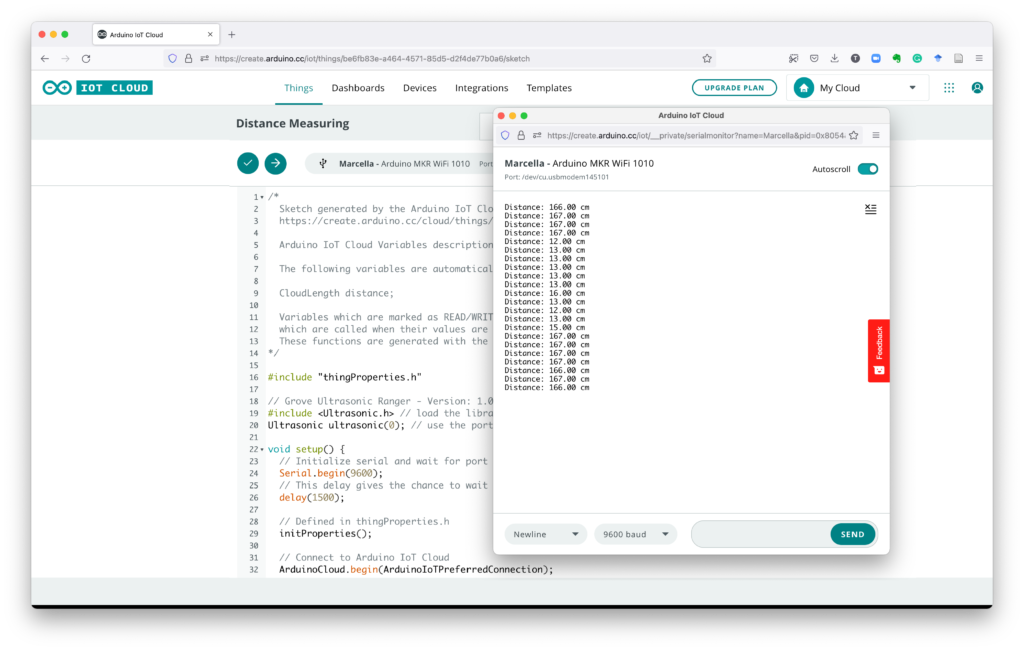
The sensor works with a custom program
In this case, we are testing the sensor with a program created using the Arduino IoT Cloud. The interface is slightly different from the Arduino Editor that we have been using previously, but this instructions will guide you.
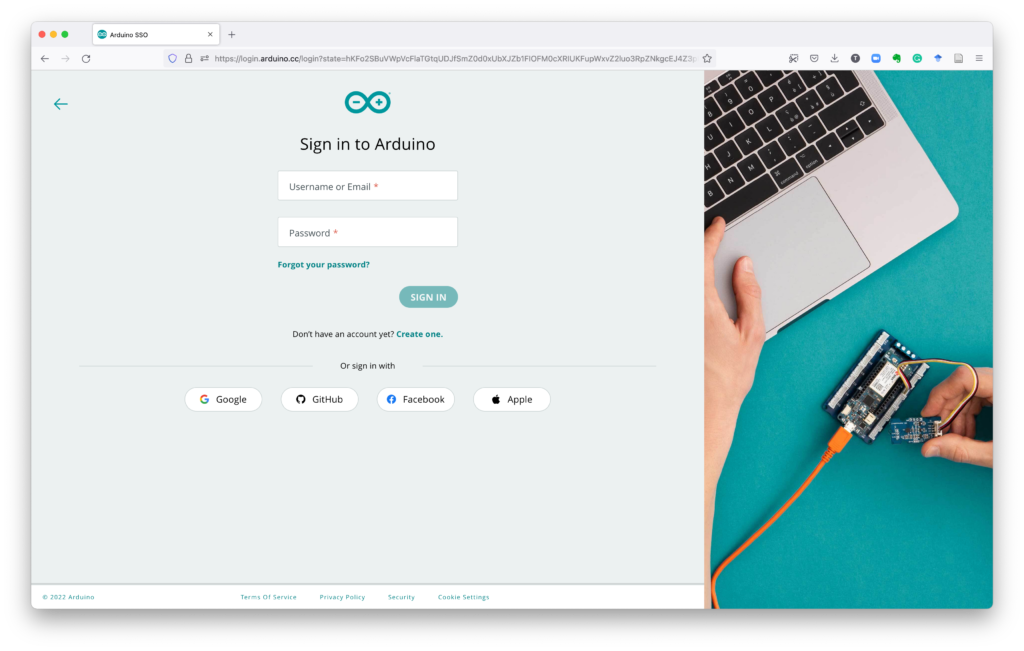
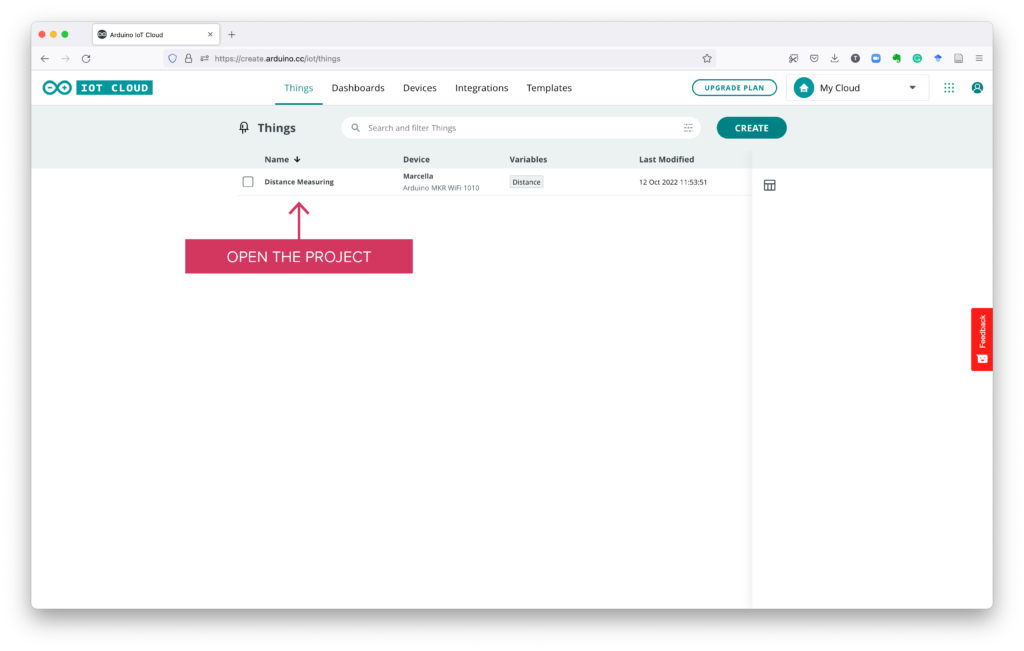
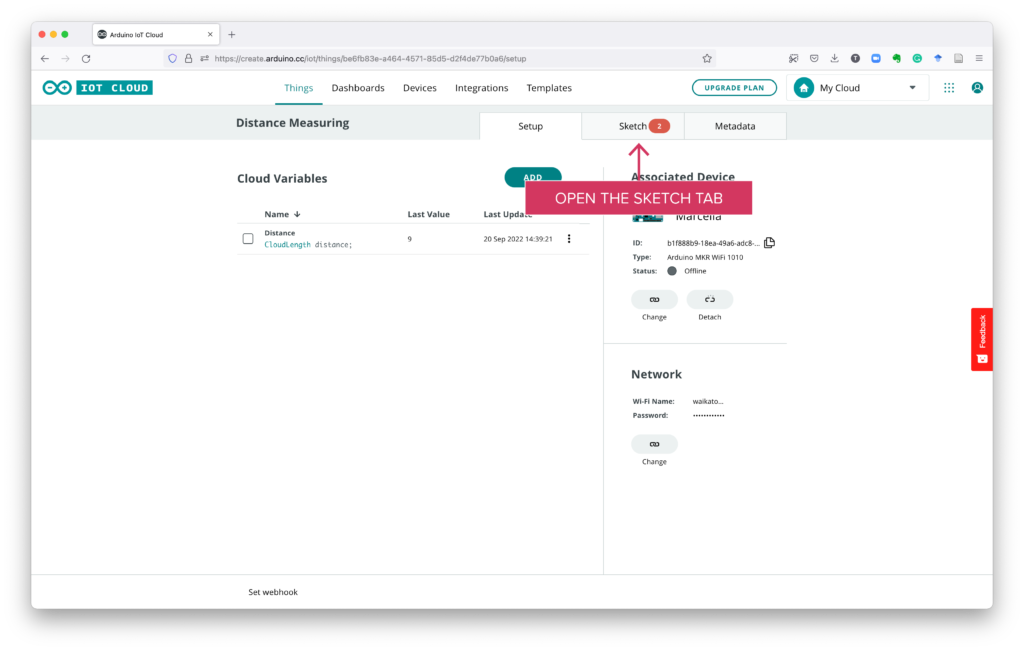
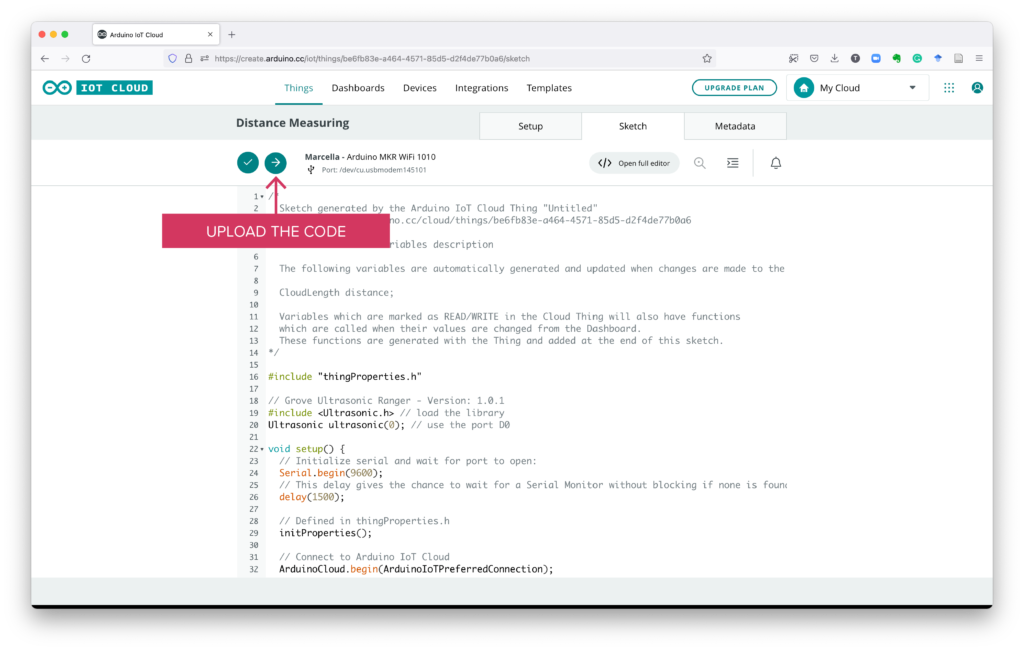
Using a web browser, go to the Arduino IoT Cloud editor. Once there, follow the steps in the following screen captures.